
Most squeaky floors come from small gaps where the subfloor, the joists or the floorboards can move and rub. The lasting fix closes that gap at its cause, usually from below the floor, and a floor that squeaks because it sags may need its framing repaired.
Many homeowners deal with squeaky floors, and there are several ways to fix them.
This article covers the most common causes of squeaky floors and how to fix them.
What Causes Squeaky Floors?
Before fixing the problem, you have to identify the root cause first.
There are many reasons why your floor may be squeaking. Here are some of the most common ones:
Changing Seasons
According to the Britannica Encyclopedia, wood contracts and expands as the temperature changes. Not just wood experiences this, but also other materials like metal and plastic. When the temperature rises, these materials expand. When it cools down, they contract.
Additionally, the wood absorbs moisture from the air and expands with high humidity. Leaks in a drainage system can also introduce excess moisture into your flooring. On the other hand, loss of moisture can lead to shrinkage.
While the expansion and contraction are often negligible on a small scale, they will be more noticeable in big structures such as floors. The squeaking sound is one sign of this.
Floor Joist Issues
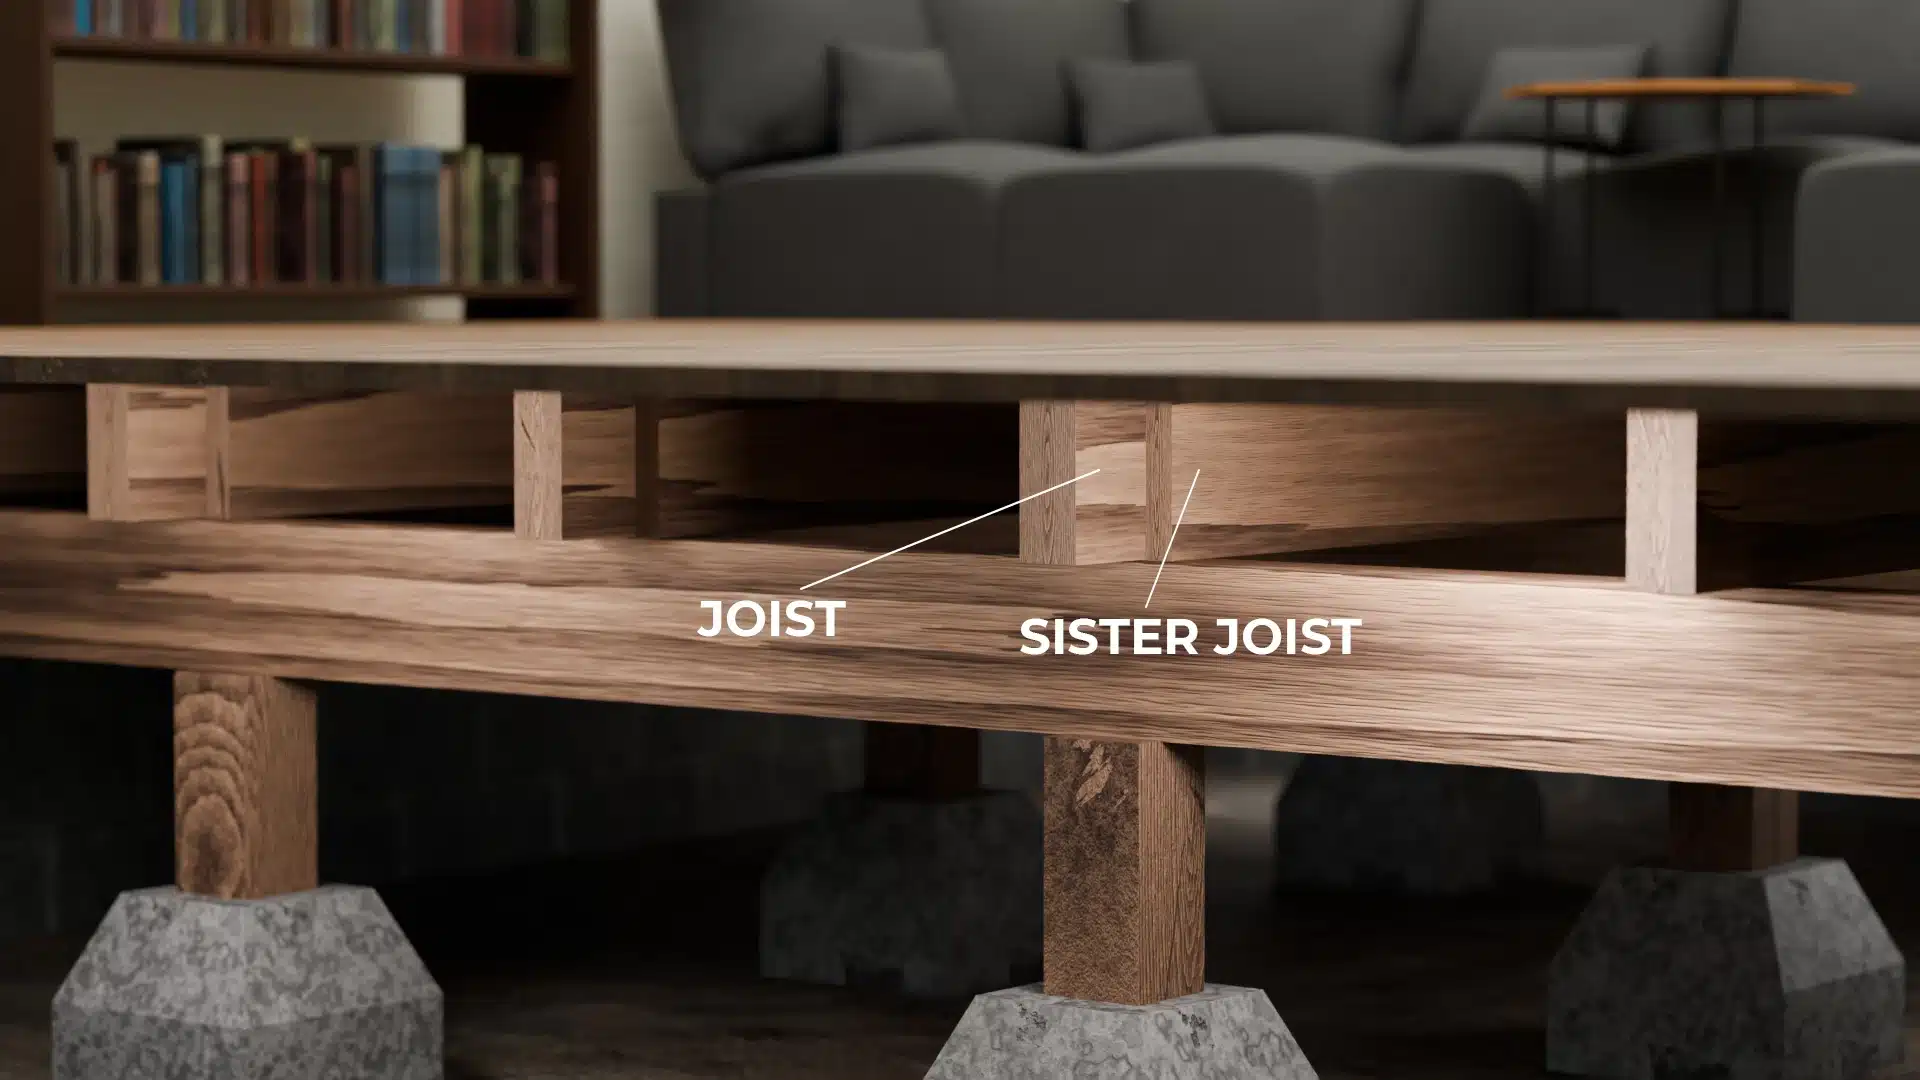
A creaky floor often indicates an issue with the joist. Floor joists are wooden horizontal structures that provide support for the subfloor. They bear the load of the floor’s weight.
The squeaking usually comes from the gap between the joist and the subfloor. Over time, as buildings settle, the nails securing the joists’ subfloor can loosen. It allows movement that leads to squeaking sounds when pressure is applied to the floor above.
Other reasons include warped joists, lack of bridging, poor workmanship and poor quality materials.
Subfloor Problems
If it’s not the joists, then it may be the subfloor. Remember that a squeaky floor is often the result of a gap somewhere in the structure.
Squeaky subfloors often stem from the following reasons:
- Uneven Subfloor: An uneven, out of level or sagging subfloor can create gaps in your flooring structure, which may need to be filled or supported below.
- Poor Quality Materials: Subfloor materials that are of low quality or have degraded over time due to moisture exposure, insect damage, or natural wear and tear may not provide a solid, stable base for flooring.
- Improper Installation: Improperly installed subfloors can lead to issues down the line, including squeaks. This can include insufficient nailing, incorrect spacing of the panels, or failure to leave enough space between panels to accommodate natural expansion and contraction.
Loose Tongue and Groove
A loose tongue and groove on floorboards can move when not firmly attached. Over time, the tongue and groove, the interlocking parts of the wood planks, can dry out and shrink, leaving gaps for movement. With foot traffic or weight bearing on the floor, the planks can then rub against each other, producing a sound.
Delamination
Delamination of wood flooring means the layers of the wood are coming apart. This can happen in engineered wood or materials like plywood.
The separated layers may move when pressure is applied, such as when someone walks over them. The movement between these layers can result in a squeaking noise. Typically, delamination occurs due to moisture damage, adhesive failure, or subpar manufacturing processes.
How Do You Permanently Fix Squeaky Floors?
Once you know where the squeak comes from, you can fix it. A quick fix can quiet a squeak for a while, but the noise may come back if the cause is still there. The repairs below address the cause.
Working From Below
If you have a crawl space or access to the underside of your floors, here are some solutions that you can try:
Construction Adhesive
If gaps in your flooring are causing the squeaky noise, applying a construction adhesive can be an effective solution. You can carefully inject the adhesive into these gaps using a caulking gun, securing loose areas. This can reduce the squeaking, and often stop it.
Screwing or Installing Shims
If the gaps are too wide and the adhesive doesn’t work, you can try screwing or installing shims. Screwing helps secure the joists to the subfloor, while shims can fill in any gaps.
The screws must be countersunk so as not to protrude above the floor surface. Also, check areas where the nails from the subfloor missed hitting the joists. In these spots, drive screws to fasten the subfloor to the joists securely.
You can also insert thin pieces of wood or shims into the gap. It’s crucial not to force the shim too tightly, as this could cause further lifting of the subfloor. Instead, apply construction adhesive and gently tap it in just enough to stop the squeak.
Stabilize Warped and Twisted Joists
If your joists are warped or twisted, you can stabilize them by attaching planks along the joist. Fasten the plank to the joist and the subfloor above to anchor them together effectively. Additionally, you can place blocks of wood between two joists. These blocks will straighten the joists, helping stabilize your joists and the above subfloor, thereby limiting movement.
If gaps remain due to the warping, you can add shims to prevent the creaking noise.
Working From Above
If you can’t access the area under your floors, the only option is to fix it from above.
Try the following methods:
Moisture and Temperature Control
If humidity and temperature swings are behind the squeak, controlling moisture under the floor can help.
HydroHelp911 can help with the moisture under your floor:
- Dehumidifier: A crawl space dehumidifier removes moisture from the air under the floor.
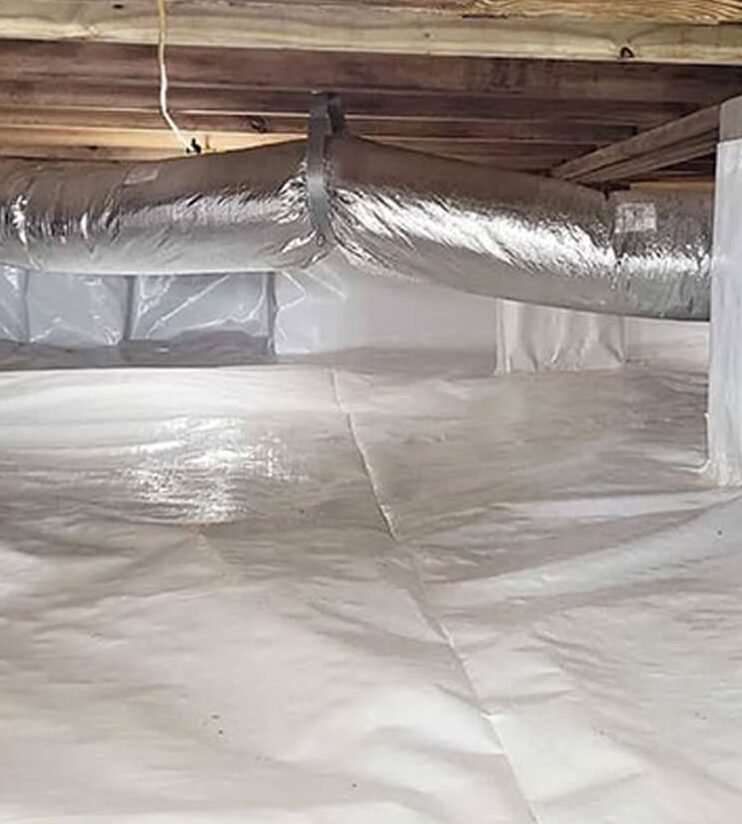
- Vapor barrier or crawl space encapsulation: A sealed liner helps keep ground moisture out of the crawl space.
- Insulation: Crawl space insulation reduces heat flow through the floor.
Homeowner tip: heating and cooling equipment, thermostats and home automation systems also affect indoor temperature and humidity. Those are handled by an HVAC contractor or the homeowner.
Lubrication and Adhesives
You can apply lubrication or adhesive to secure the boards with loose tongues and grooves. This method may also work for other exposed parts of flooring that are loose.
Powdered graphite or talcum works as an excellent lubricant. For adhesives, wood glue, epoxy, or construction adhesive are good options.
Repair or Replacement
For damaged parts of your flooring, such as delaminated or cracked boards, it is better to replace than repair them. If the damage is minor, you can fill the gaps using a wood filler or putty and then sand it down. However, we recommend replacing the entire board if the damage is extensive.
When Should You Call a Professional?
You can do some of these fixes yourself, but some floor problems need a professional.
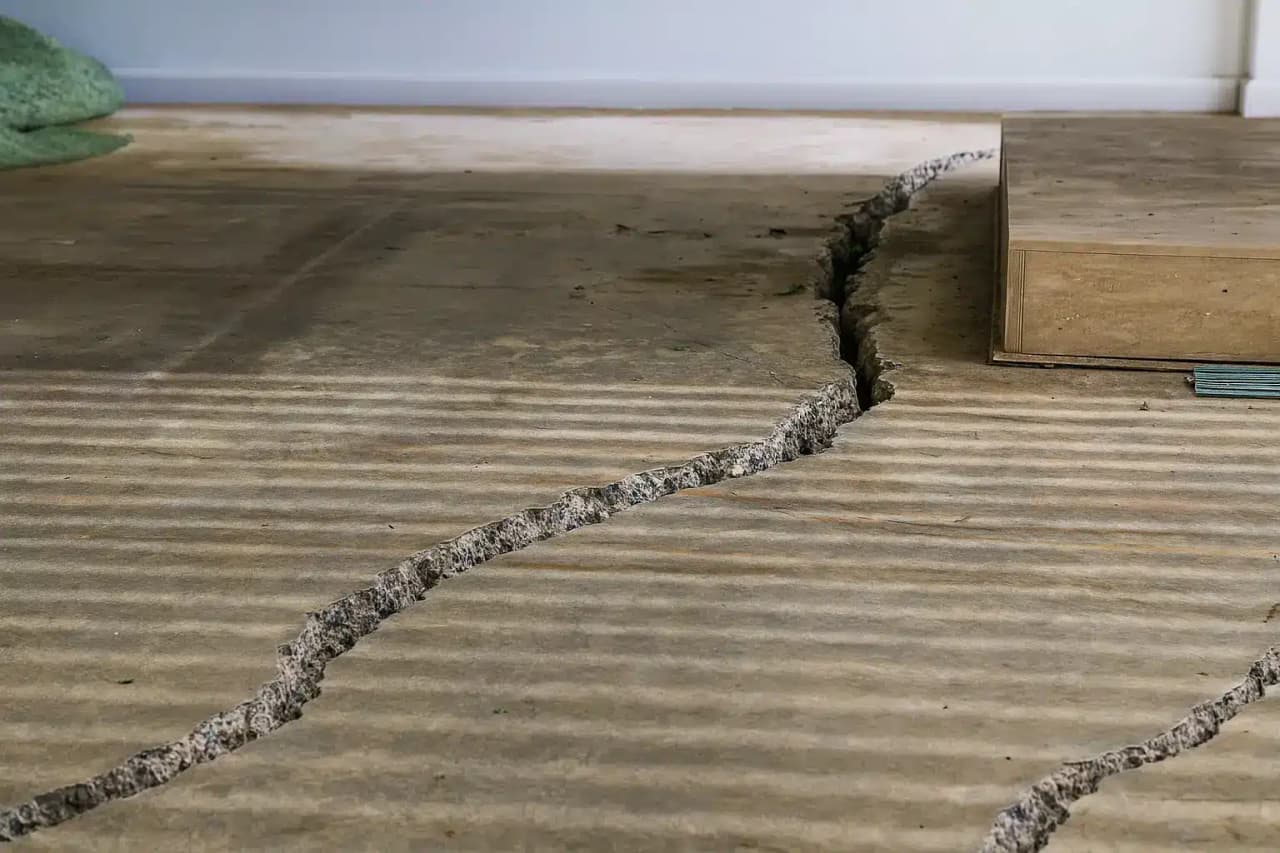
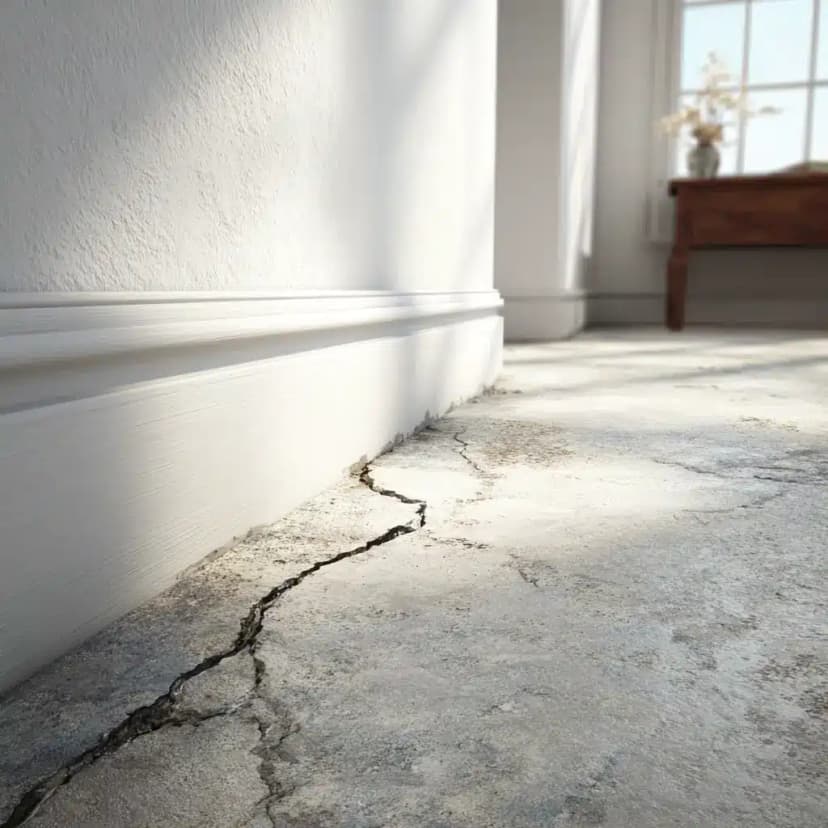
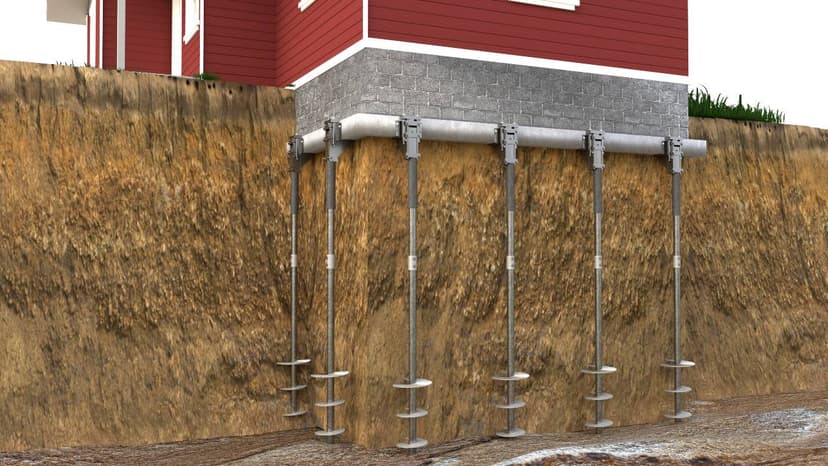
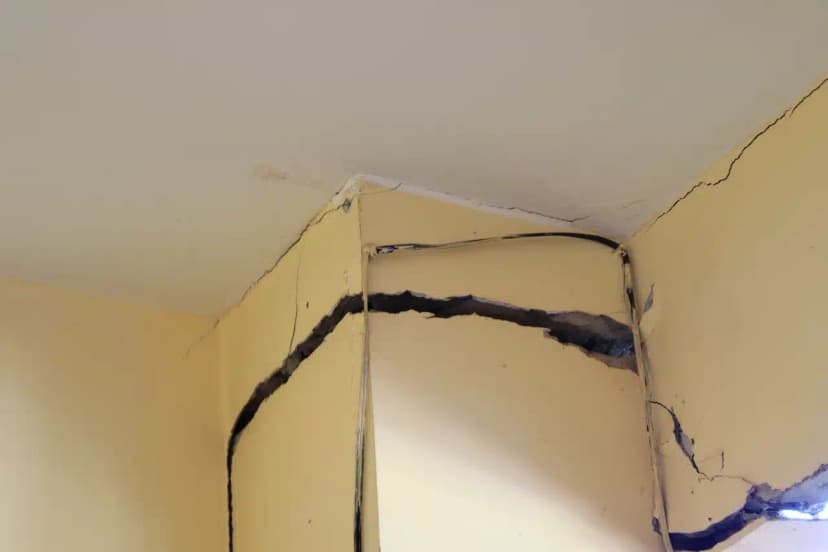
A floor that squeaks and also feels uneven or sags can point to a problem in the framing or the foundation. When joists or beams under the floor have weakened, structural repair in the crawl space or sagging floor repair supports the floor from below. HydroHelp911 inspects crawl spaces, framing and foundations across North and South Carolina and can show you what is behind the squeak.
Next Step
Schedule a Free Inspection
Call or fill out our quick online form. We'll book a convenient time to assess your home at no cost.
Learn more about our foundation repair services.
Found this useful? Share it with someone working on their home.
Written by
Cory Parks
Owner & President, HydroHelp911
Cory Parks founded HydroHelp911 and leads its structural and moisture repair work for homeowners across North and South Carolina, from the clay soils of the Piedmont to the saturated, sandy ground along the coast.
More about CoryGet a Free Inspection
Two ways to start. Both are free, with no obligation.
Pick your own day in our calendar. You save $250 if you go ahead with the work.
Send a short form, and our office will call to book a time that suits you.
For new customers who book online through our website and then sign a contract.